Flawless application, every time
Get ready to transform your vehicle with ease. Our detailed guide will walk you through applying your new stick-on car design, ensuring a perfect finish that lasts. Follow these steps for a stunning result.

Preparation is key
Before you begin, ensure your surface is perfectly clean, dry, and free from any dust or grease. This crucial first step guarantees optimal adhesion. Also, double-check that your vinyl design is the correct size for your intended placement before you remove any backing.
Clean, position, and peel
Start by cleaning the surface with a suitable cleaner and allow it to dry completely. Next, carefully place the vinyl design where you want it. For accurate positioning, use masking tape to temporarily hold it in place. Then, slowly peel back a small section of the backing paper.

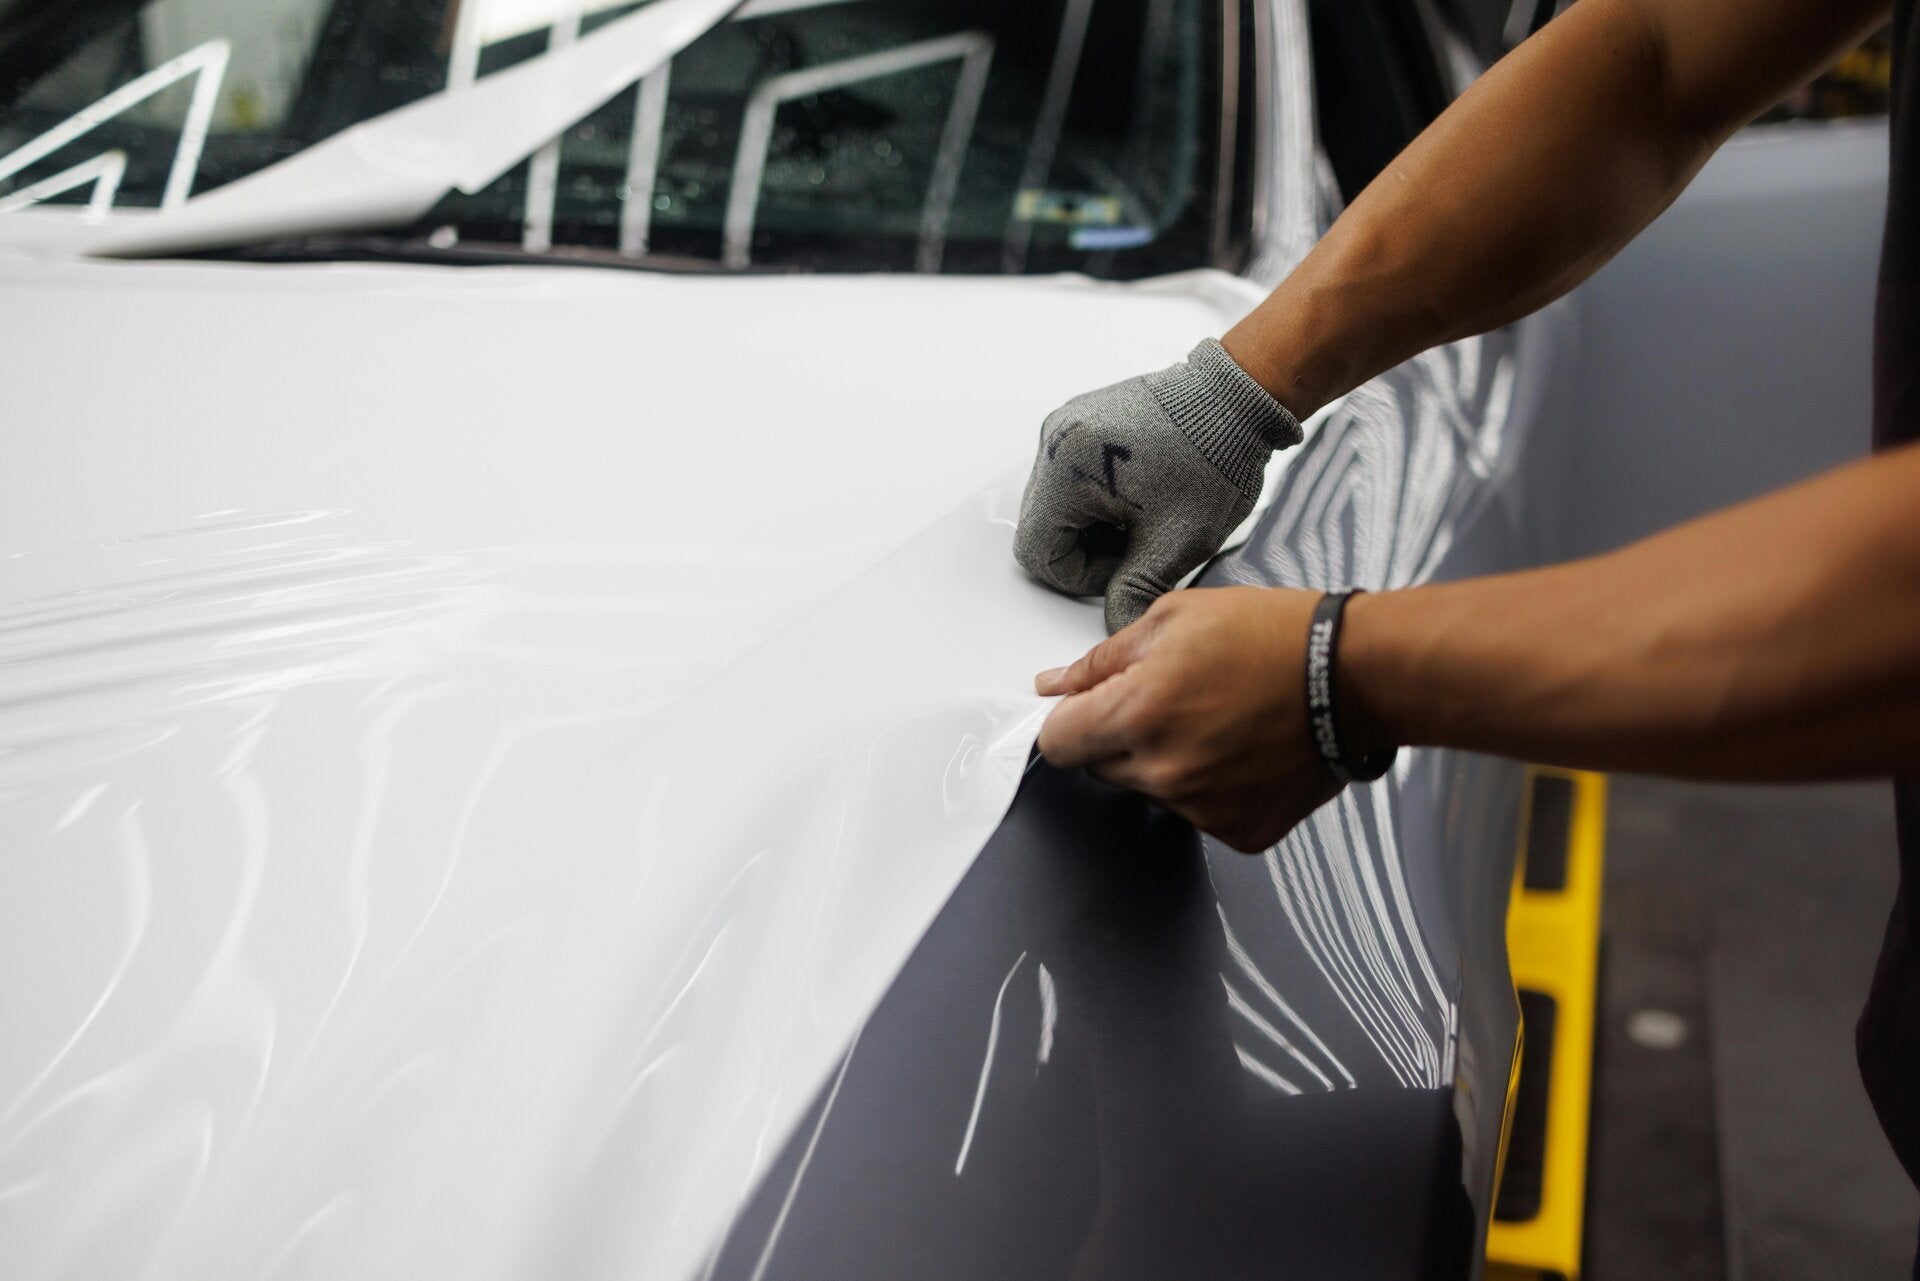
Smooth application for a perfect finish
Press the vinyl onto the surface using a squeegee or a soft card, working from the middle outwards to eliminate any air bubbles. Continue to peel the backing away a little at a time while smoothing the vinyl down. If your vinyl includes transfer tape, carefully peel it away at a low angle once the vinyl has firmly adhered.
Final touches and care
Ensure all edges are firmly pressed down to prevent lifting. For best results and longevity, avoid washing your vehicle or exposing the vinyl to heavy rain for at least 24 hours after application. Applying vinyl requires care and patience. Please inspect your order thoroughly before beginning the installation. We cannot be held responsible for issues arising from improper application.